Creating Microsoft 365 Users in Entra ID
Creating Microsoft 365 users is one of the most common administrative tasks, and Microsoft Entra ID (formerly known as Azure AD) provides a structured, reliable way to handle user onboarding.
In this article, we’ll walk through the Microsoft Entra ID user creation process, focusing specifically on the three key tabs involved:
- Basics
- Properties
- Assignments
Along the way, we’ll also reference M365Corner’s Microsoft Graph PowerShell automation guides, so administrators who prefer scripting over manual steps can easily transition to scalable, repeatable processes.
Creating the Basic User (Basics + Properties tabs)
When creating a new user in Entra ID, the foundation is set in the Basics and Properties tabs. These tabs define the user’s identity and how they appear across Microsoft 365 services.
Basics tab – Core identity configuration
The Basics tab is mandatory and captures the essential identity attributes for the user in Entra ID:
- User Principal Name (UPN)
This is the user’s sign-in name (for example, alex.wilson@contoso.com). - Display name
The name shown across Microsoft 365, including Outlook, Teams, and the Entra ID portal. - Password settings
You can auto-generate a password and enforce a password change at first sign-in. - Account status
Allows you to enable or disable the account during creation—useful when pre-staging users.
These fields directly map to Entra ID user object properties and are identical to what administrators configure when creating users through automation.

💡 Automation insight for admins
If you prefer creating users programmatically instead of through the portal, M365Corner provides a step-by-step guide on creating Microsoft 365 users using Microsoft Graph PowerShell.
👉 Learn how to create users using the New-MgUser cmdlet in Graph PowerShell
https://m365corner.com/m365-powershell/using-new-mguser-in-graph-powershell.html
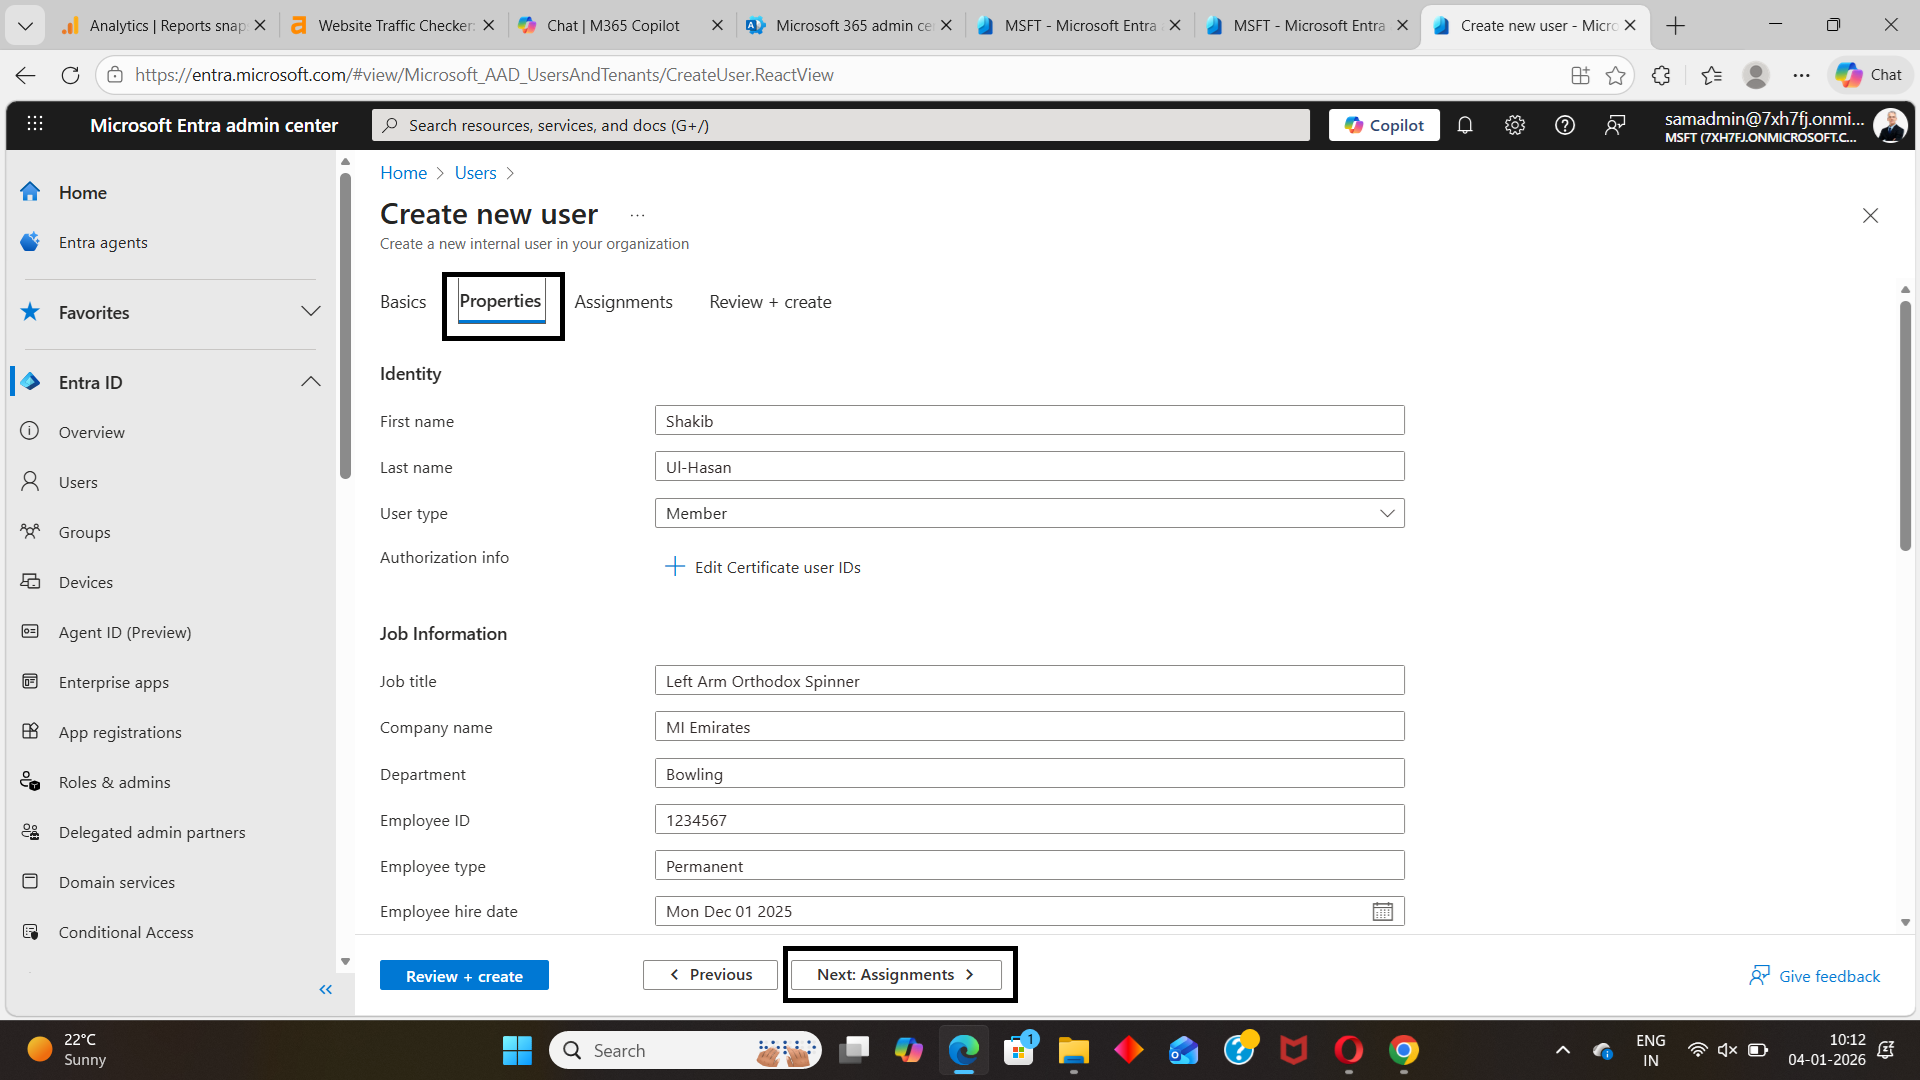
Properties tab – Enriching the user profile
The Properties tab allows you to define additional user attributes that improve directory organization and reporting in Entra ID.
Commonly used properties include:
- First name and last name
- Job title
- Department
- Office location
- Usage location (important for license assignment)
- Contact details
While optional, filling in these properties helps keep your Entra ID directory clean and consistent, especially in larger tenants or environments transitioning from legacy Azure AD workflows.
💡 Best practice
Populating fields like Department and Job Title early enables smoother automation later—such as dynamic group membership, license assignment, and reporting.
Assigning Groups and Roles (Assignments tab)
The Assignments tab controls what the user can access after being created. This is where group membership and directory roles are configured in Entra ID.
This step is critical for ensuring users have the right permissions from day one.
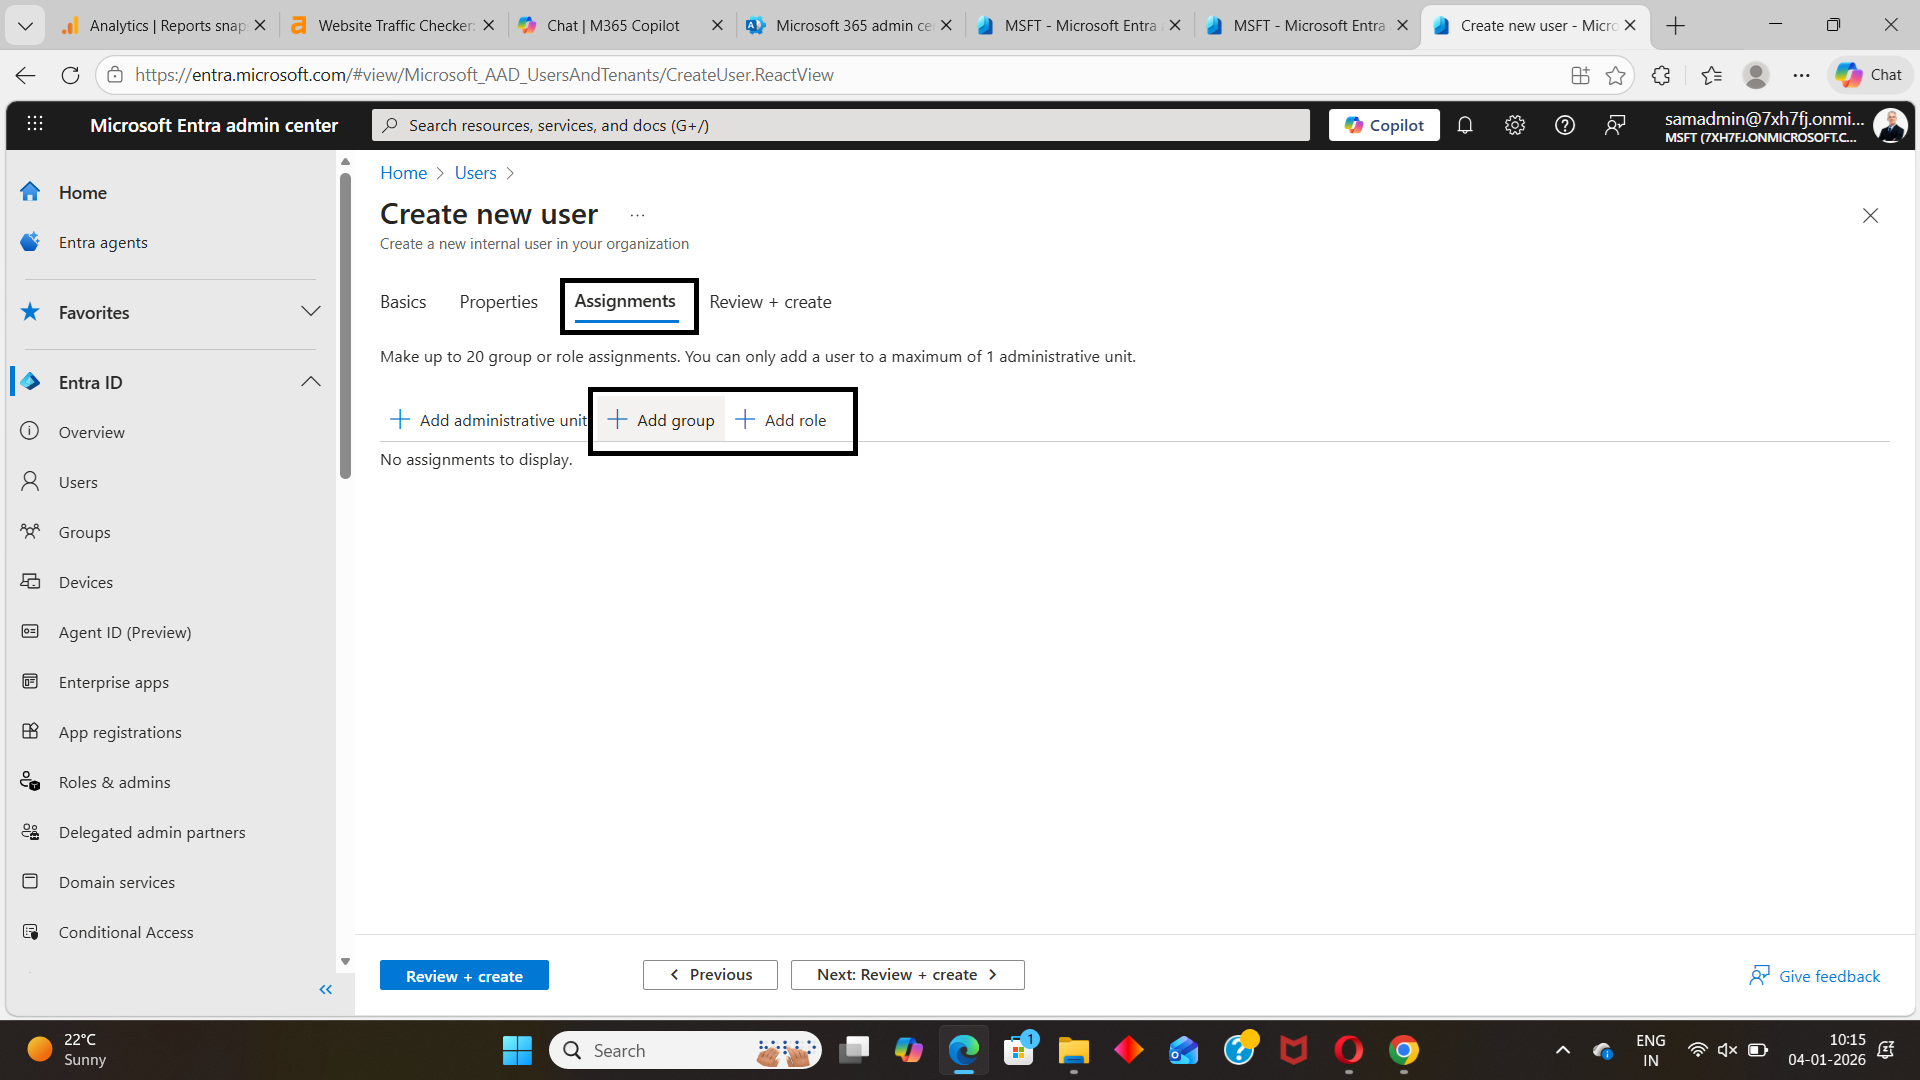
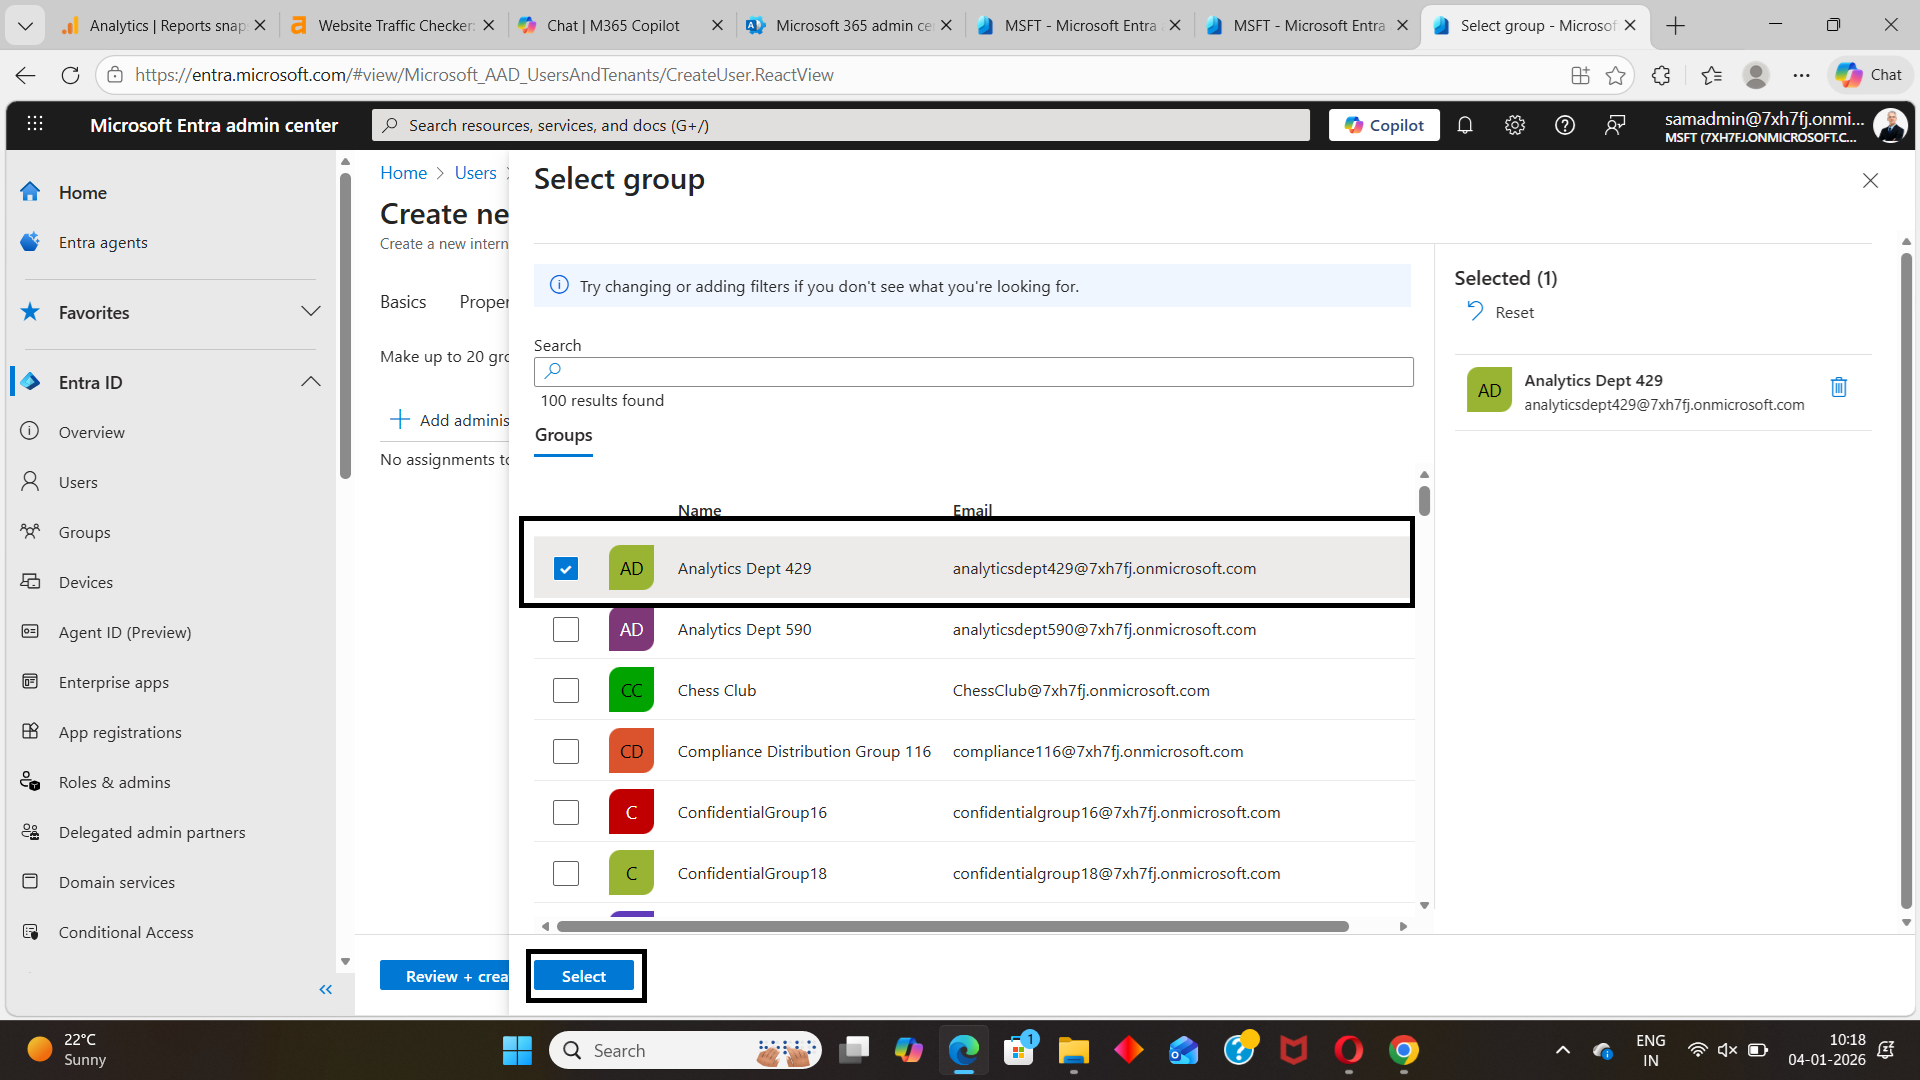
Assigning Microsoft 365 group memberships
From the Assignments tab, you can add the user to one or more Microsoft 365 groups. Group membership often determines access to:
- Microsoft Teams
- SharePoint sites
- Group mailboxes
- Security policies and applications
Adding users to groups during creation ensures immediate access without requiring post-creation changes.
💡 Graph PowerShell alternative
For admins managing users at scale, M365Corner explains how to add users to Microsoft 365 groups using Microsoft Graph PowerShell, covering:
- Adding a single user
- Adding multiple users
- Importing users from a CSV file
👉 See how to add users to groups using New-MgGroupMemberByRef on M365Corner
https://m365corner.com/m365-powershell/using-new-mggroupmemberbyref-in-graph-powershell.html
Assigning a user to multiple groups
In most organizations, users are members of multiple groups—such as department groups, application access groups, and security groups.
While Entra ID allows manual selection, automation is far more efficient for repeat onboarding scenarios.
👉 Learn how to assign a Microsoft 365 user to multiple groups efficiently using Graph PowerShell on M365Corner
https://m365corner.com/m365-powershell/adding-m365-user-to-multiple-groups.html
This approach is especially useful when standardizing onboarding processes in Entra ID.
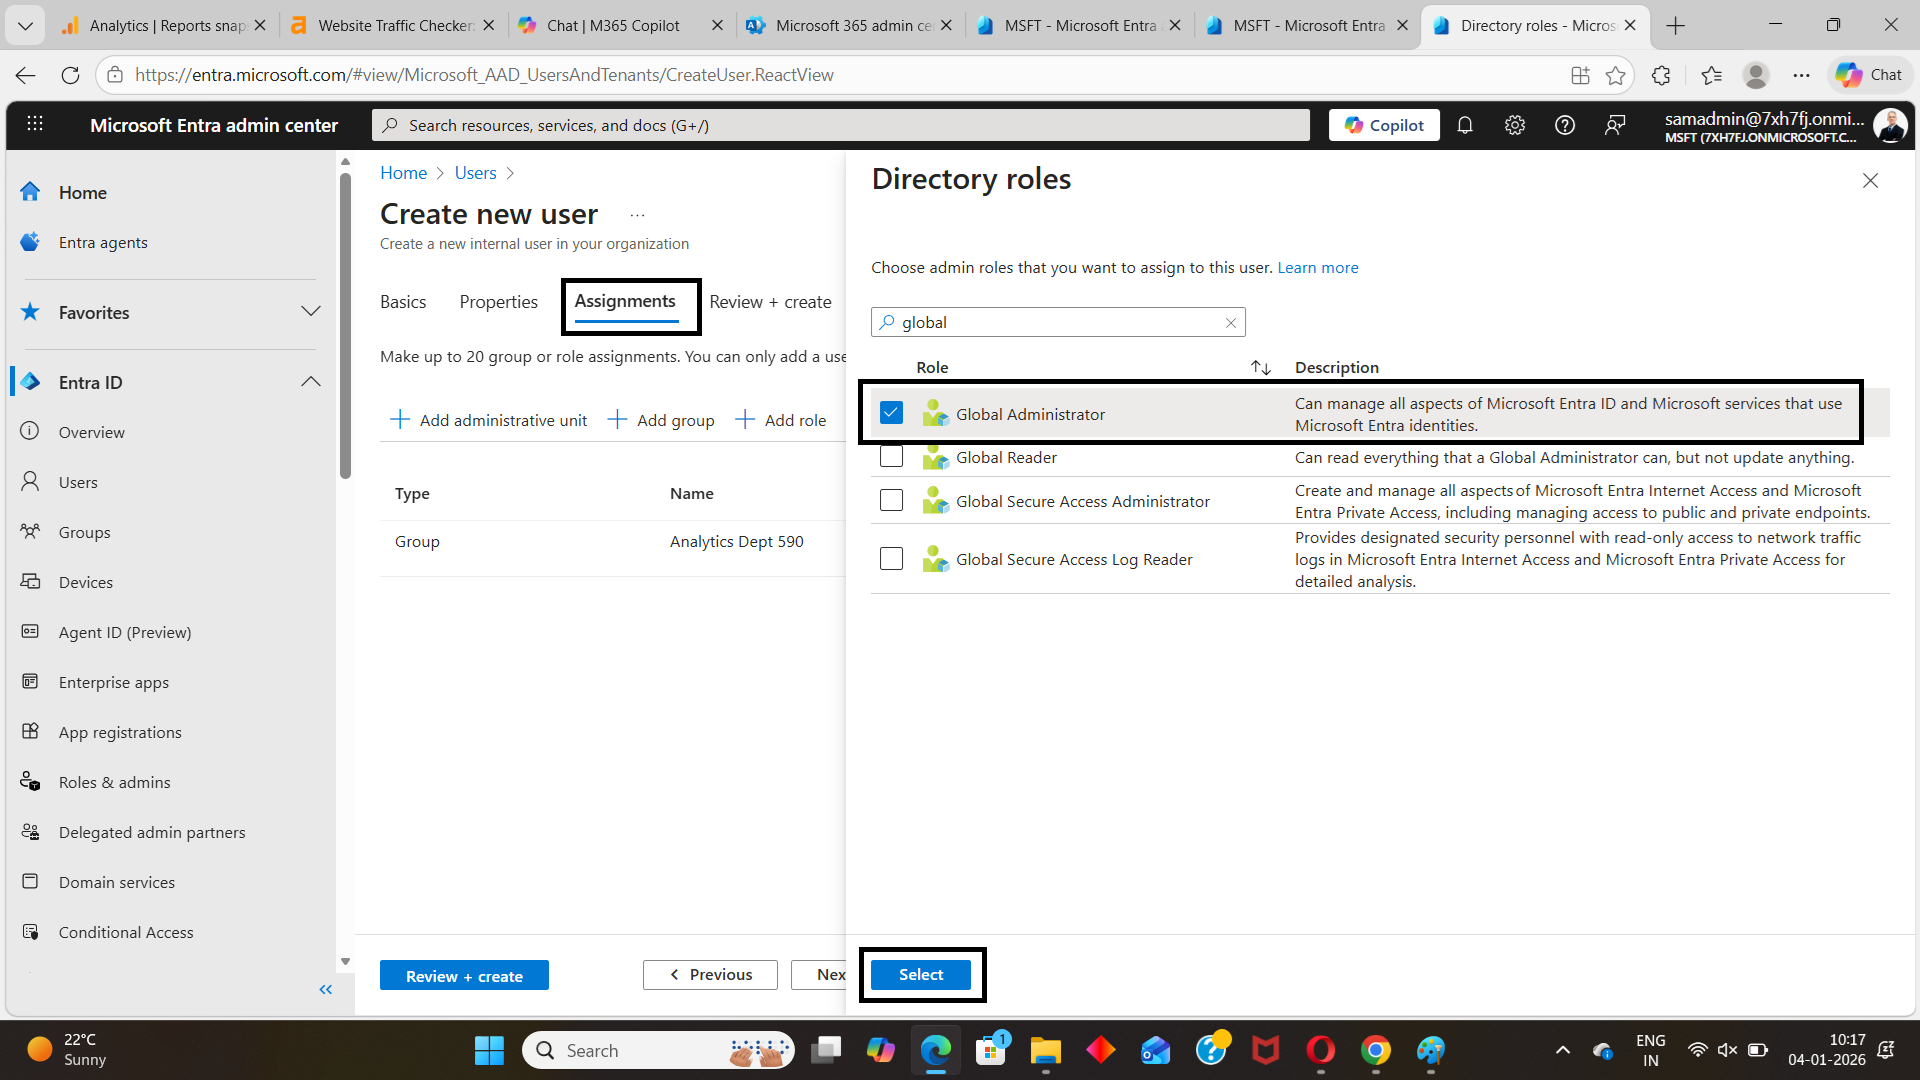
Assigning Entra ID directory roles
Some users require administrative permissions, such as Helpdesk Administrator, User Administrator, or Reports Reader. These permissions are assigned using directory roles.
From the Assignments tab in Entra ID, you can assign built-in roles directly to the user. Because roles grant elevated permissions, this step should always be performed with caution.
💡 Role assignment via automation
If you prefer managing directory roles using automation instead of the portal, M365Corner provides a dedicated guide on assigning Entra ID roles using Microsoft Graph PowerShell.
👉 Learn how to assign directory roles to users using New-MgDirectoryRoleMemberByRef in Graph PowerShell
https://m365corner.com/m365-powershell/using-new-mgdirectoryrolememberbyref-in-graph-powershell.html
This is particularly useful when onboarding IT staff or maintaining consistent role assignments across environments.
Review and create the user (Final step)
The final step in the Entra ID user creation process is Review + Create.
Before completing the process, Entra ID presents a summary of:
- Basic user details
- Assigned properties
- Group memberships
- Directory roles
This review step helps prevent common mistakes such as incorrect UPNs, missing usage locations, or unintended role assignments.
Once confirmed, the user is created in Entra ID (formerly Azure AD) and becomes available across Microsoft 365 services immediately.
Final thoughts
Creating Microsoft 365 users in Entra ID is a structured process built around three key steps:
- Basics – Defines the user’s identity
- Properties – Enriches directory data
- Assignments – Controls access through groups and roles
While the Entra admin center works well for occasional user creation, Microsoft Graph PowerShell is the preferred approach for administrators handling bulk onboarding or repeat processes.
M365Corner’s Graph PowerShell guides are designed to help you move from manual administration to efficient, automation-first Entra ID management—without guesswork.
Did You Know? Managing Microsoft 365 applications is even easier with automation. Try our Graph PowerShell scripts to automate tasks like generating reports, cleaning up inactive Teams, or assigning licenses efficiently.
Ready to get the most out of Microsoft 365 tools? Explore our free Microsoft 365 administration tools to simplify your administrative tasks and boost productivity.