🔧 New: User Management Graph PowerShell Toolkit
Simplify user tasks like bulk creation, updates, password resets, deletions, license checks & more — all from one place.
🚀 Launch ToolkitHow to Connect to Microsoft Exchange Online with PowerShell
Since Graph PowerShell is still improving, you need Microsoft Exchange PowerShell to manage org-wide mailbox settings. So, in this article, let’s understand how you can connect to Microsoft 365 Exchange Online using PowerShell, to manage your Microsoft 365 mailboxes efficiently.
Installing the ExchangeOnlineManagement PowerShell Module
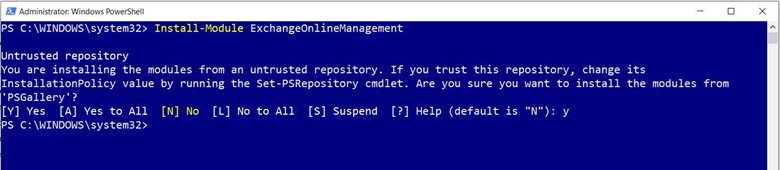
From your PowerShell console, run the Install-Module ExchangeOnlineManagement command as an administrator, as shown in Figure 1. This installs the Exchange Online management module.
Note: When you install a PowerShell module, you must confirm the installation by entering Y or A as the response, as shown in the image.
Checking Whether the Installation Was Successful
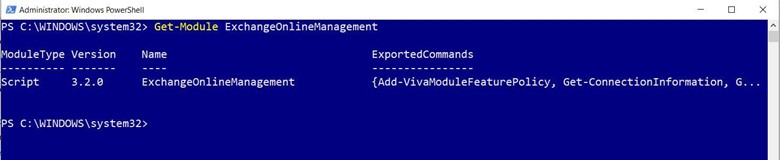
Run the Get-Module ExchangeOnlineManagement command. If your installation was successful, you’ll get back the newly installed ExchangeOnlineManagement module’s details, as shown in the image.
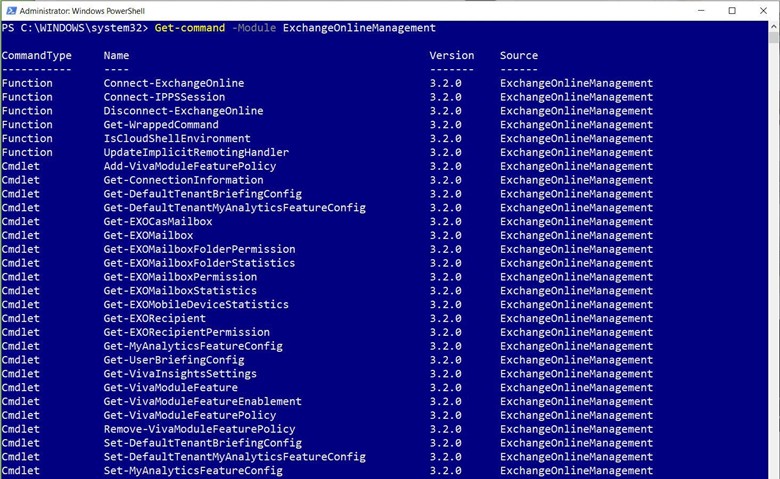
If you want to explore all the cmdlets associated with the newly installed ExchangeOnlineManagement PowerShell module, run the Get-command -Module ExchangeOnlineManagement cmdlet, as shown in the image.
Connecting to Exchange Online
To connect to Microsoft 365 Exchange Online:
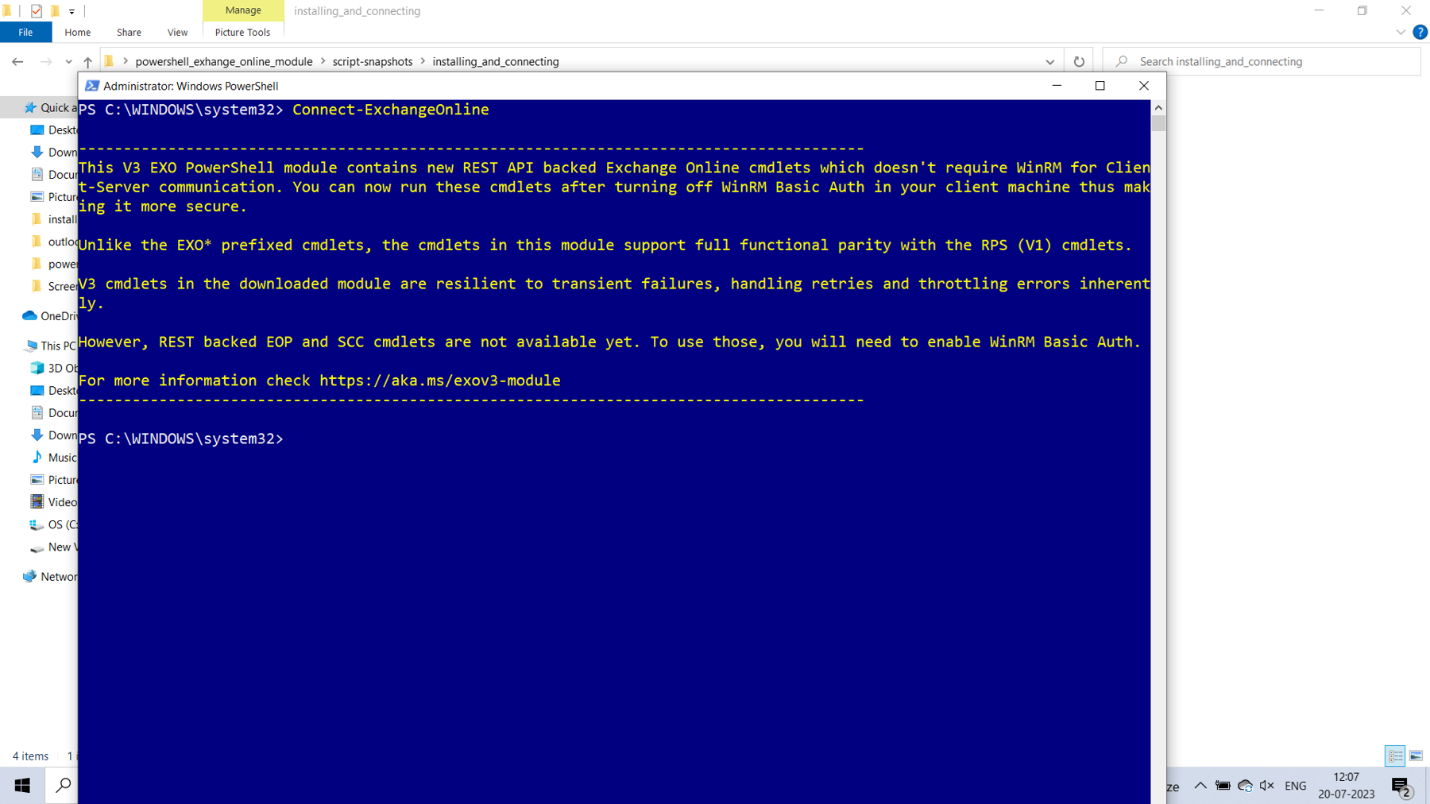
Run the Connect-ExchangeOnline command. This opens the credentials prompt, as shown in the image.
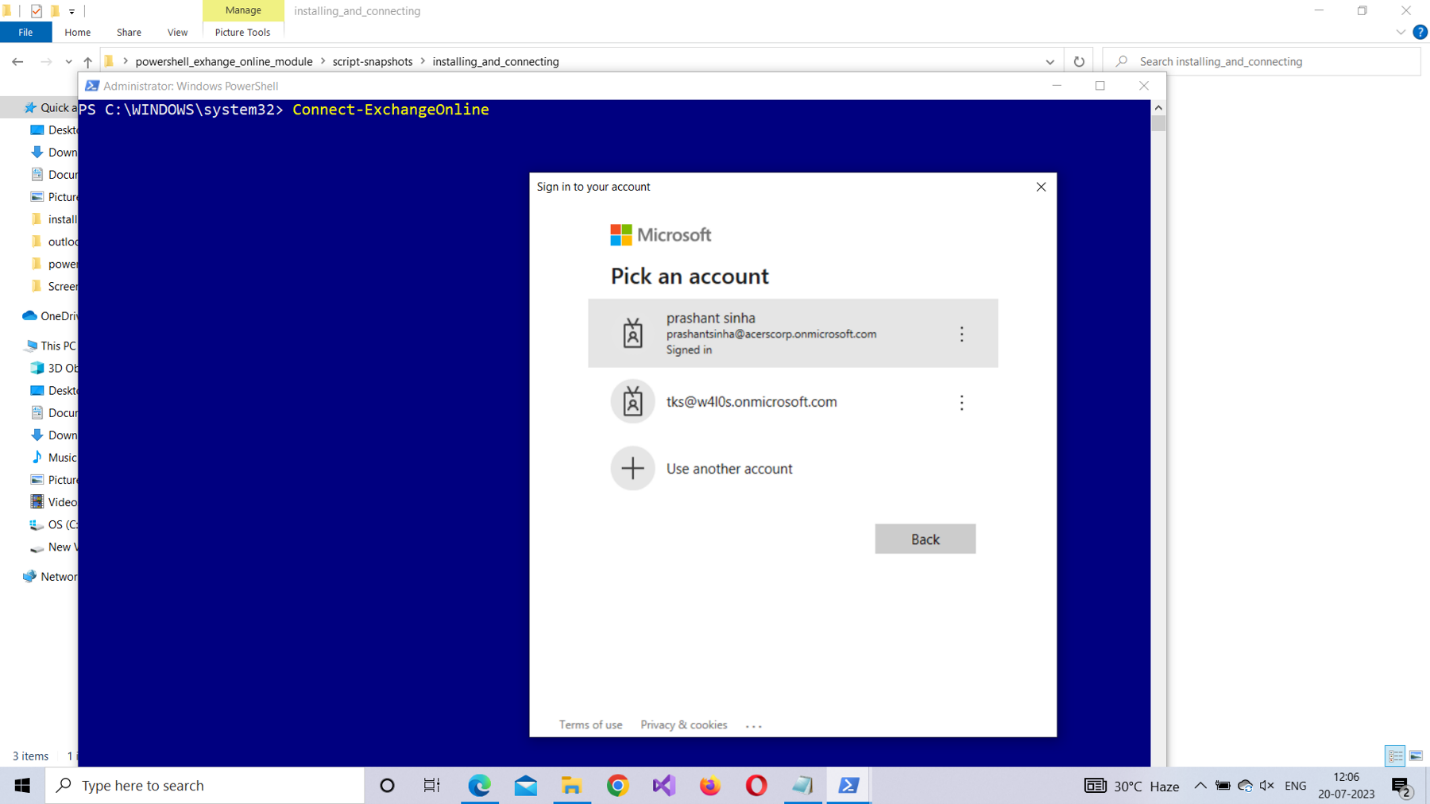
Enter your Microsoft 365 credentials, and then click Enter. You’ll be connected to Microsoft 365 Exchange Online, as shown in the image.
Checking Whether the Connection was Successful
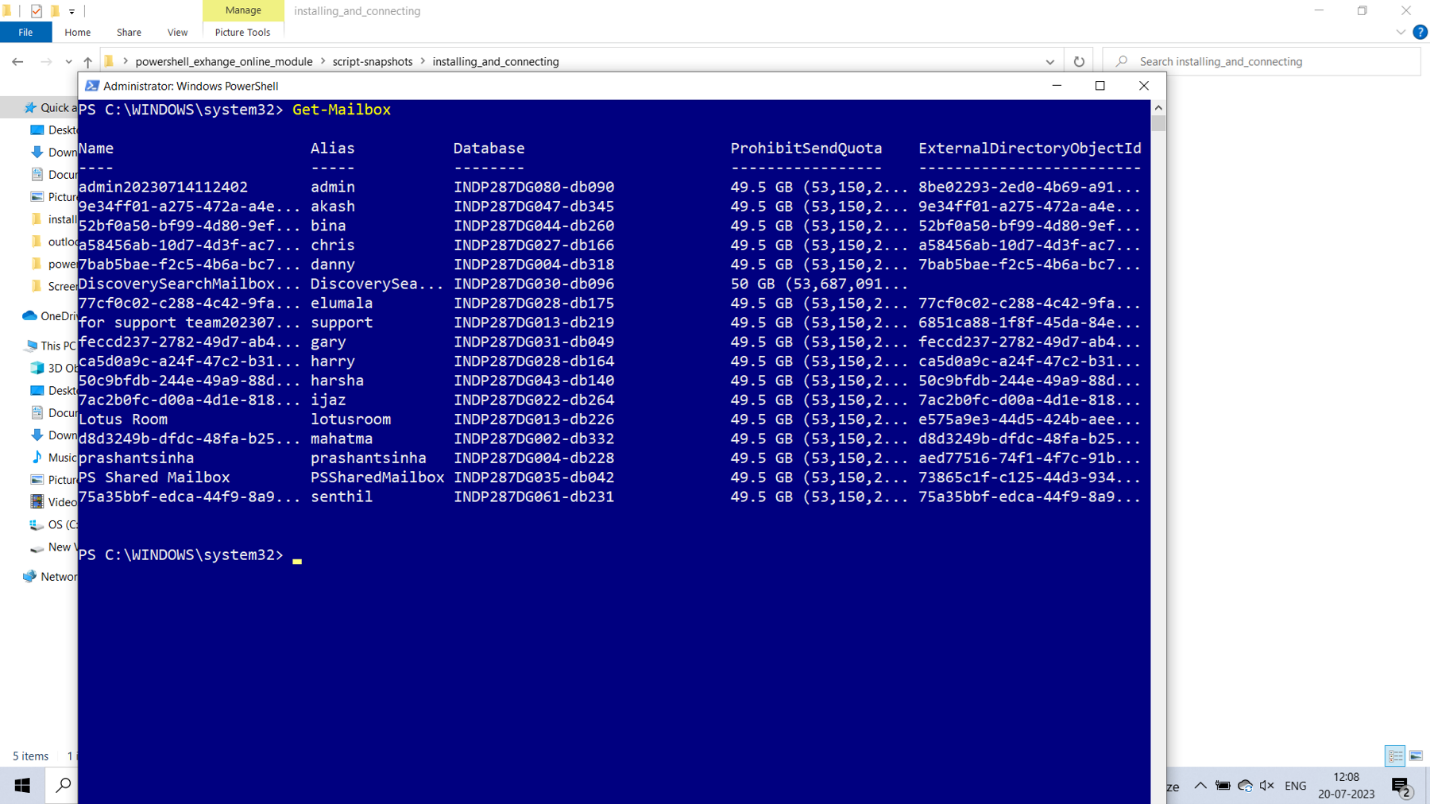
Run the Get-Mailbox command. Doing so will list all the mailboxes available in your Microsoft 365 tenant, as shown in the image.
Disconnecting Exchange Online
It’s best practice to be aware of how you can disconnect from a PowerShell module. The command for disconnecting from Microsoft 365 Exchange Online is Disconnect-ExchangeOnline, as shown in the image.

Possible Errors You Might Face
Here are some errors you might face and ways to rectify them:
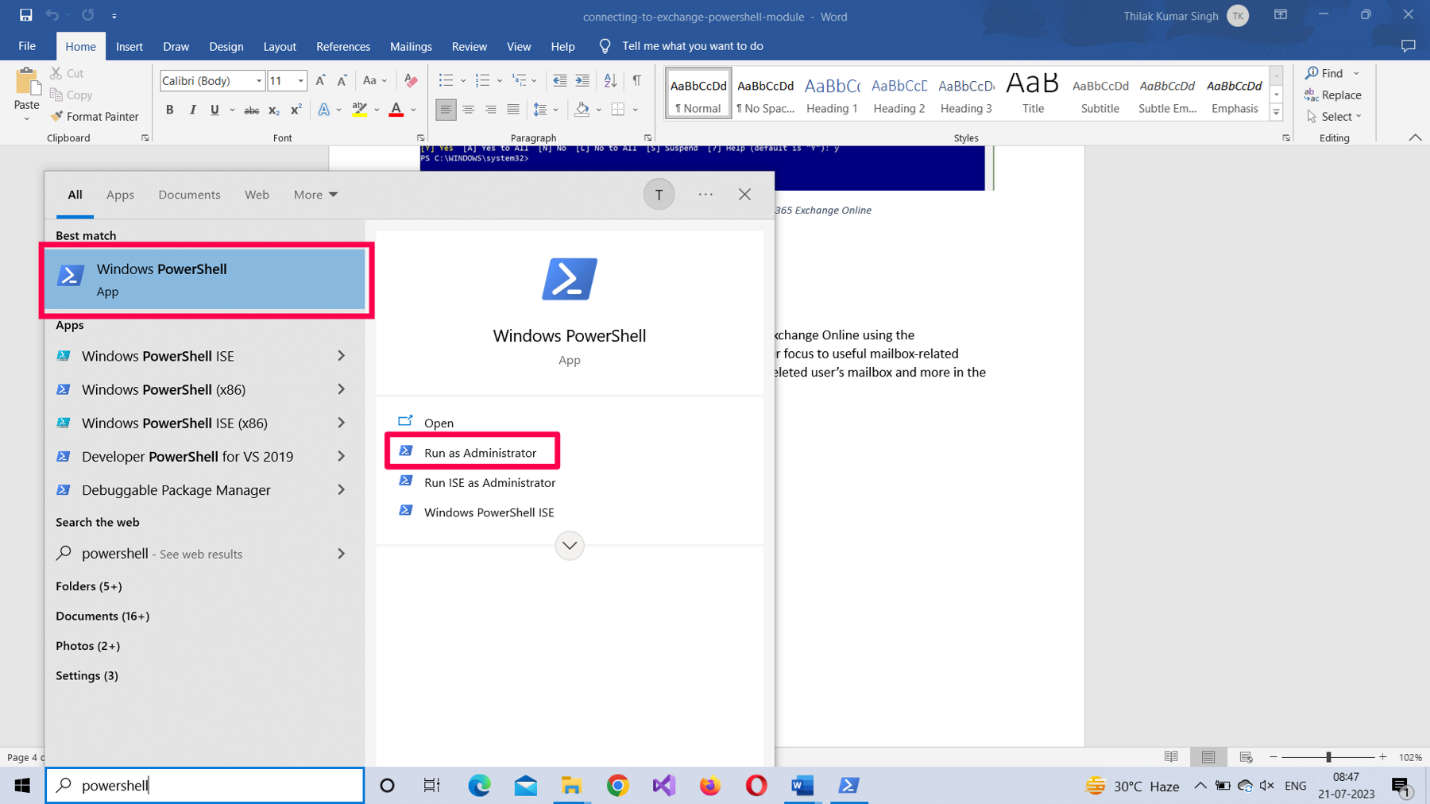
- Not running your shell as administrator: Select the PowerShell program from the Windows start menu, and then choose Run as Administrator, as shown in Figure 8.
- Set the execution policy to restricted mode: The execution policy setting determines the script execution rights for the current user. If you are logging in for the first time, chances are this is set to Restricted mode. Ensure that the execution policy is set to RemoteSigned, which allows you to run scripts. The command for doing so is Set-ExecutionPolicy RemoteSigned
- Typos in your PowerShell script: You can have typos even when you’re copying/pasting scripts. Save your scripts in separate .ps1 files, and then run them. This not only saves time but also prevents your script from encountering unnecessary errors.
- Providing incorrect login credentials: Ensure that you get your credentials right to prevent yourself from running into this embarrassing error.
Note: To check your script execution rights, run the Get-ExecutionPolicy command.
Conclusion
Auditing Conditional Access policies is not just a best practice—it’s essential for compliance, security, and operational clarity. With Graph PowerShell, you gain full visibility into who did what, and when. Whether you're investigating changes, ensuring governance, or just documenting actions, these scripts have you covered.
Start auditing today—and make Conditional Access truly accountable.
Did You Know? Managing Microsoft 365 applications is even easier with automation. Try our Graph PowerShell scripts to automate tasks like generating reports, cleaning up inactive Teams, or assigning licenses efficiently.
Ready to get the most out of Microsoft 365 tools? Explore our free Microsoft 365 administration tools to simplify your administrative tasks and boost productivity.